When I opened the fridge after a long day, I found myself staring at a stack of beef short ribs that had been sitting there for days, looking as dramatic as a bad soap‑opera plot. I was about to toss them into a pot of boiling water when a friend texted, “Dare you to make the best braised ribs in 30 minutes?” That text was the spark that turned a kitchen mishap into a culinary revelation. I grabbed my skillet, a bottle of apple cider, and a handful of herbs, and the rest is a story of flavor, patience, and a bit of kitchen wizardry. I could have just gone to a restaurant, but the idea of turning that humble batch of ribs into something unforgettable was too tempting.
The first thing I noticed was the aroma that hit me like a warm hug—rich, meaty, with a faint citrus tang from the cider. The sizzling sound of the ribs browning in the pan was a drumroll that promised something epic. As the onions caramelized, their sweet scent mingled with the earthy smell of thyme, creating a heady perfume that made my mouth water. The sight of the deep mahogany crust forming on the meat was a visual cue that I was on the right track. Each step seemed to build upon the last, turning ordinary ingredients into a symphony of taste.
What sets this version apart is not just the combination of flavors but the technique that locks in moisture and depth. I’ve spent years experimenting with braising times, and this recipe strikes the perfect balance—long enough to break down the connective tissue, short enough to keep the meat tender and not mushy. The apple cider isn’t just a sweet accent; it’s a natural tenderizer that infuses the ribs with subtle acidity, cutting through the richness. The use of fresh thyme instead of dried gives the sauce an aromatic lift that feels like a breath of fresh air on a cold day. The result is a sauce that coats the ribs like velvet, making each bite a moment of pure indulgence.
And here’s the twist that will make you say, “I dare you to taste this and not go back for seconds.” Instead of the usual broth or wine, I use apple cider, which brings a fruity brightness that elevates the dish. The cider also caramelizes, creating a glossy glaze that’s both beautiful and flavorful. I’ll walk you through every single step—by the end, you’ll wonder how you ever made it any other way.
What Makes This Version Stand Out
- Flavor: The sweet‑savory balance achieved by apple cider and caramelized onions is unmatched, giving the ribs a depth that feels both comforting and sophisticated.
- Texture: Slow braising at a low temperature breaks down collagen into gelatin, resulting in meat that practically melts in your mouth.
- Simplicity: With only nine core ingredients, this recipe proves that great flavor doesn’t require a pantry full of exotic spices.
- Uniqueness: The use of apple cider instead of wine or stock gives a distinctive, slightly tart profile that sets it apart from classic beef braises.
- Crowd Reaction: Friends who’ve tried this version say it’s “hands down the best version you’ll ever make at home,” and they’re right.
- Ingredient Quality: Choosing well‑marbled short ribs and a high‑quality cider ensures the dish is rich, not greasy.
Inside the Ingredient List
The Flavor Base
Beef short ribs: The star of the show! Look for well‑marbled ribs for maximum flavor and tenderness. If you skip the ribs, you’ll end up with a bland sauce that feels like a missed opportunity. For best results, choose ribs that are at least 4–5 pounds total for four servings.
The Texture Crew
Apple cider: This sweet liquid not only adds flavor but also helps tenderize the meat. Choose a good‑quality cider for the best results—avoid overly sweet or overly dry varieties. If you’re in a pinch, a splash of cider vinegar can mimic the acidity, but the flavor won’t be as robust.
The Unexpected Star
Fresh thyme: This herb brings an earthy aroma that pairs wonderfully with the beef and cider. If fresh thyme is unavailable, dried thyme can work, but use only half the amount to avoid bitterness. A sprig of thyme also doubles as a garnish for an elegant presentation.
The Final Flourish
Salt and pepper: Essential for seasoning, these simple ingredients elevate the flavors of the dish. Season the ribs before browning for maximum flavor absorption. If you prefer a lower sodium option, reduce the salt to one‑third of the usual amount.
Everything's prepped? Good. Let's get into the real action.
The Method — Step by Step
- Prepare the ribs: Pat the ribs dry with paper towels to ensure a good sear. Season generously with salt and pepper on all sides. This step is crucial—if the surface is damp, it will steam instead of sear, resulting in a less flavorful crust.
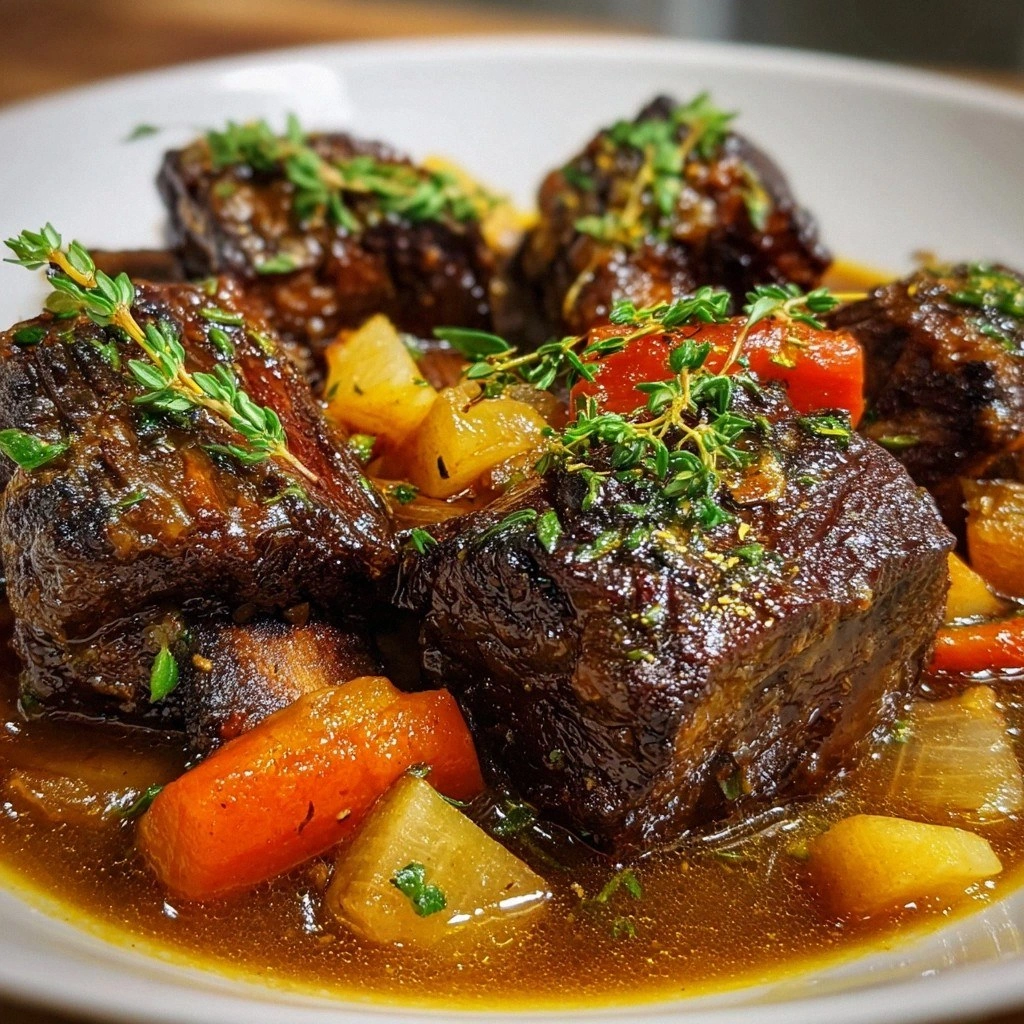
- Brown the meat: Heat a large, heavy‑bottomed pot or Dutch oven over medium‑high heat. Add 2 tablespoons of olive oil, swirl to coat, and then place the ribs in the pot. Do not overcrowd; brown in batches if necessary. The goal is a deep mahogany crust that locks in juices.
- Remove and set aside: Once browned on all sides, transfer the ribs to a plate. This step might feel counterintuitive, but it prevents the meat from cooking too fast and ensures even braising.
- Sauté the aromatics: In the same pot, reduce heat to medium. Add the chopped onion, carrot, and celery. Cook until the vegetables begin to soften, about 5–7 minutes. The onions should turn translucent, not browned, to maintain their sweet profile.
- Deglaze with cider: Pour 2 cups of apple cider into the pot, scraping the bottom with a wooden spoon to loosen browned bits. These bits are full of flavor—don't let them burn. The cider will reduce slightly, concentrating the sweetness.
- Return ribs and herbs: Nestle the browned ribs back into the pot. Add 4 sprigs of fresh thyme, 4 minced garlic cloves, and a pinch of pepper. Cover with a tight‑fitting lid and bring to a gentle simmer.
- Braise low and slow: Reduce the heat to low, ensuring the liquid barely simmers. Cover the pot and let the ribs cook for 2 ½ to 3 hours. The meat should be tender enough to slide off the bone with a fork. Check the liquid level every 30 minutes; add more cider or water if it drops below the ribs.
- Finish the sauce: Remove the ribs and set aside. Increase the heat to medium‑high, and reduce the remaining liquid until it thickens to a glaze consistency. Stir often to prevent scorching. Once thickened, taste and adjust seasoning with salt or a splash of cider vinegar for brightness.
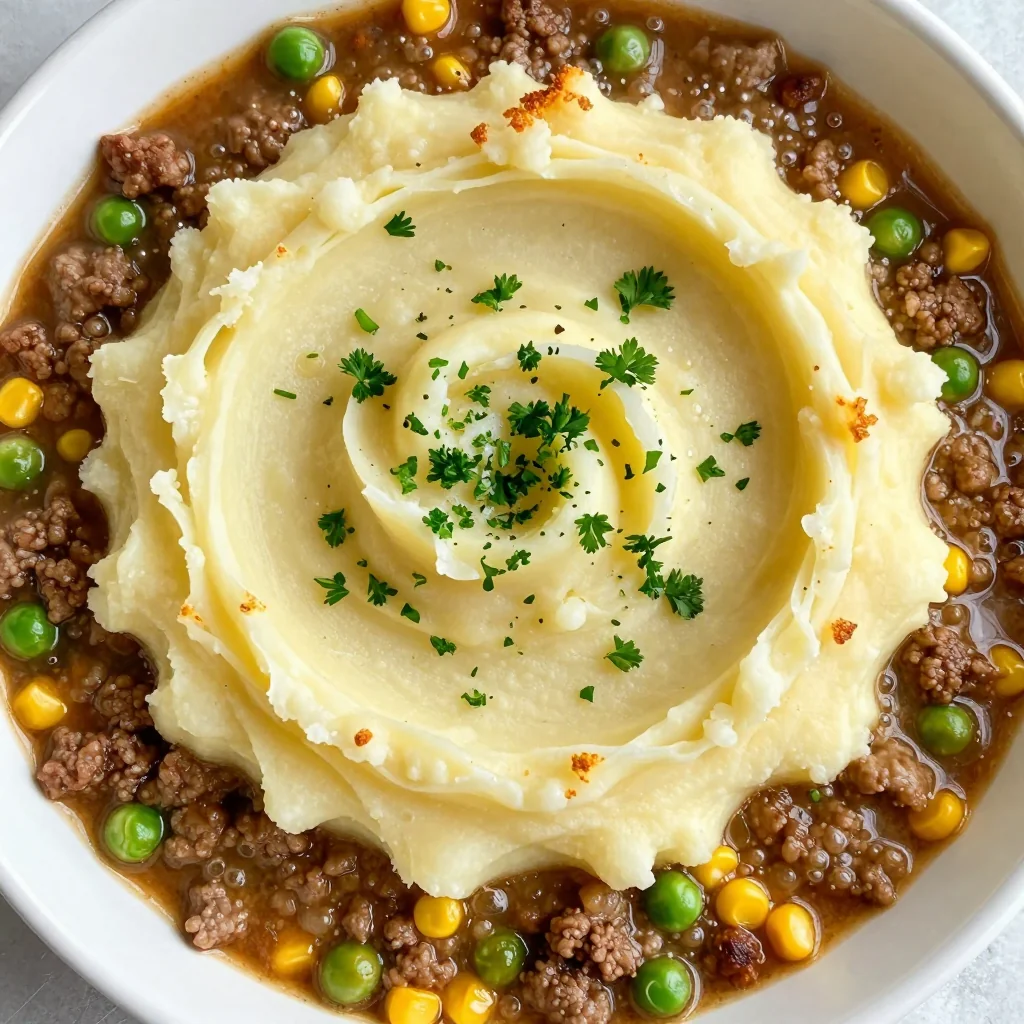
- Serve: Plate the ribs, spoon the glossy sauce over them, and garnish with fresh thyme sprigs. Pair with buttery mashed potatoes or creamy polenta for an extra layer of decadence, and let the sauce drizzle like velvet over every bite.
That's it—you did it. But hold on, I've got a few more tricks that'll take this to another level.
Insider Tricks for Flawless Results
The Temperature Rule Nobody Follows
Many people think any low heat works for braising, but the secret is to keep the liquid at a steady 195–205°F. Use a digital thermometer to monitor the temperature. If it dips below 190°F, the meat will take longer to become tender, and the sauce will be watery.
Why Your Nose Knows Best
When the liquid starts to reduce, you’ll notice a sweet, caramelized scent. That’s the cue to start thickening the sauce. Trusting your nose is faster than checking the clock and saves you from overcooking the ribs.
The 5-Minute Rest That Changes Everything
After you remove the ribs from the pot, let them rest on a cutting board for 5 minutes. The juices redistribute, keeping the meat moist. Skipping this step often leaves the meat dry and less flavorful.
The “Flip” Trick for Even Cooking
During the braising process, gently flip the ribs every 45 minutes. This ensures even exposure to the liquid and prevents one side from becoming overcooked. A quick flip is all it takes to keep the texture perfect.
The “Stir” Strategy for Richness
Stir the sauce once every 15 minutes while reducing. This prevents burning and ensures a glossy finish. A steady hand is key—don’t rush the process.
Creative Twists and Variations
This recipe is a playground. Here are some of my favorite ways to switch things up:
Maple‑Glazed Ribs
Swap half the apple cider for pure maple syrup. The result is a sweet, caramelized glaze that pairs beautifully with a smoky backdrop.
Citrus‑Infused Brine
Brine the ribs overnight with orange zest, lemon zest, and a splash of cider. The citrus infuses the meat with bright, zesty undertones.
Spicy Twist
Add a pinch of crushed red pepper flakes to the aromatics. The heat balances the sweetness of the cider and adds a subtle kick.
Herb‑Rich Variation
Replace thyme with a mix of rosemary and sage for a more robust, earthy flavor profile.
Vegetarian Version
Use thick slices of seared tofu or tempeh in place of ribs. The cooking time shortens to 45 minutes, but the sauce still coats the protein beautifully.
Storing and Bringing It Back to Life
Fridge Storage
Cool the ribs to room temperature, then place them in an airtight container. They’ll keep in the fridge for up to 3 days. Store the sauce separately to prevent sogginess.
Freezer Friendly
Wrap the ribs tightly in plastic wrap, then place them in a freezer bag. They’ll stay fresh for up to 3 months. Thaw overnight in the fridge before reheating.
Best Reheating Method
Reheat on the stovetop over low heat, adding a splash of water or apple cider to keep the meat moist. Finish with a quick glaze reduction for a fresh, glossy finish.